Raging Rivers
An Introduction to Rivers
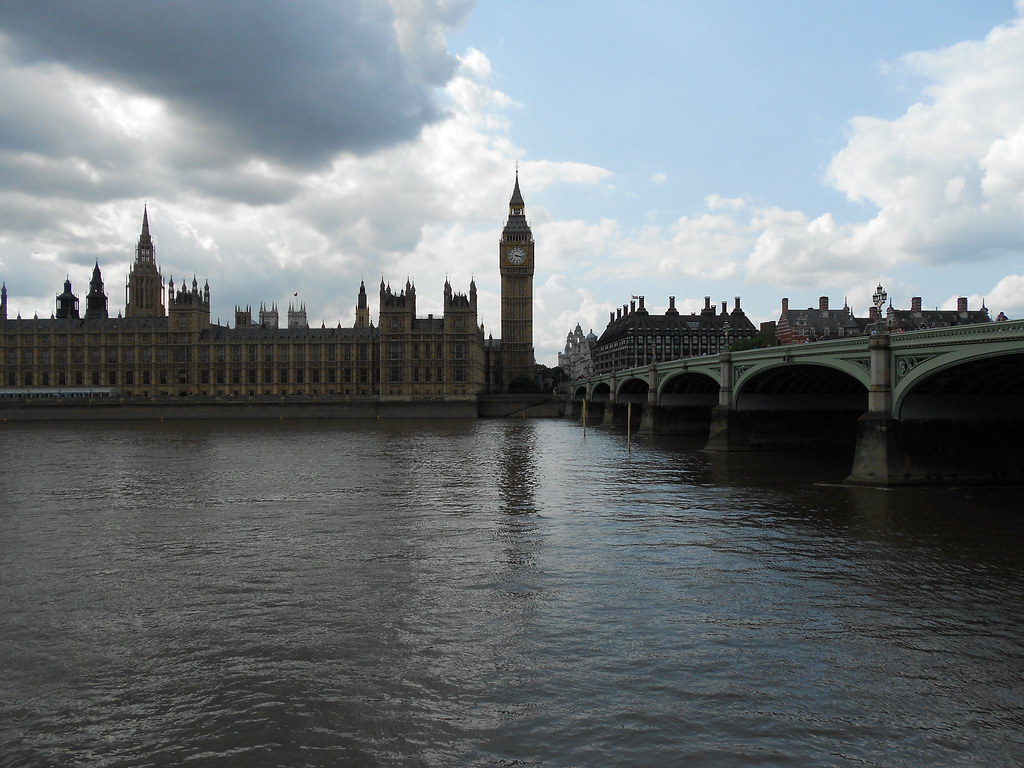 "Thames" by J. Gustavo Góngora is licensed under CC BY-SA 2.0
![]()
![]()
![]()
What happens in a river anyway? |
|
"Thames" by J. Gustavo Góngora is licensed under CC BY-SA 2.0![]()
![]()
![]()
What happens in a river anyway? |
|
|
| ||||
|
Starter:
Watch this video and read over this Bitesize review about the hydrological cycle. Stuck? Have a look over this animation and short explanation of the water cycle from the University of Illinois to review what you have learnt so far. |
Task 1:
On your workbook sheet for lesson 1, fill in the labels from the diagram to show your understanding of the different stages in the hydrological cycle. You can do this in one of three ways: 1) Print off the workbook and add the labels using pencil or pen. 2) Download the PowerPoint version of the workbook and add in text-boxes on top of the diagram. 3)Download the pdf version of the workbook and then in Adobe Acrobat Reader, click on the fill and sign option. Stuck? Have a look here at the diagram from the Met Office to check your labels for accuracy. |
Task 2:
Use the fill in the blank task beneath the diagram to show you understand how the hydrological cycle works at each stage. Use the bold words at the top to fill in the blanks in the sentences. Remember - use the diagram above and your learning from the starter task to help guide your choices. Done? Check your answers by clicking on this link. Plenary: Show your understanding of today's learning in one of the following ways - 1) Draw the diagram of the hydrological cycle from memory. 2) Create a model of the hydrological cycle using craft materials from home, make sure you include the labels! 3) Make a video walkthrough of how the hydrological cycle works - you can use an animation website like Moovly to do this for free! Email your teacher with your chosen plenary task - the best versions will be shared on the Fulston Manor Geoggers Wow Wall! |
|
Starter:
Read over this webpage and watch this video about a river's profile. Check your understanding - Look over Figure 2 a river profile in your workbook, do you understand what the diagram is showing? Can you explain this to your parents or siblings? If the answer is yes, move on to task 1. If the answer is no, check this webpage out for further help and then move on to task 1. |
Task 1:
Key term ALERT - Geomorphic processes: natural forces that change the shape of the land. (e.g. erosion, transportation, deposition) Show your understanding of the river's profile by answering the questions underneath Figure 2 in your workbook. Done? Check your answers here and correct any misconceptions you have made. Challenge - Can you create your own model of the river's cross profile from memory out of items around the house? Send your teacher a picture of your 'homemade' version - the best examples will go on our Geography Wow Wall! |
Task 2:
Look over the Bradshaw Model in your workbook. Use the Bradshaw Model and your understanding from your reading and fill in the table below the model to show your understanding of the Bradshaw Model. Stuck? Watch this video lesson about the Bradshaw Model and then fill in your table. Plenary: Summarise what you have learnt today about Rivers in 120 characters or less! Send this tweet to your teacher in a ClassChart message so your teacher knows what you have learnt today. |
|
Task 1:
In your workbook, fill in the table comparing erosion and weathering using the process terms below (the words in different colours underneath the table). Stuck? Have a read over this website to help support your understanding of the differences between weathering and erosion. Task 2: Answer the questions in the yellow box beneath the last task in your workbook. The last question asks you to do the matching task at the bottom of the page. Done? Check your answers here. |
Extension/Challenge Tasks
Task 3: Identify the differences between transportation and erosion using the colour terms beneath the comparison table. Next complete the comprehension questions in the yellow box below. Task 4: Complete the definitions for the different types of erosion in the final yellow box under the River Processes tasks - use the colour terms at the bottom of the box to help fill in the blanks. Plenary: Using the image at the bottom of the page, annotate (label) onto the drawing how each type of erosion causes the river bed and banks to be worn away. Stuck? Have a review of the erosion processes in a river using this video. |
|
Task 1:
Use the boxes provided in the yellow section of your workbook to explain how a levee forms. Stuck? Look here for a reminder of how levees form. Next, label onto Figure 3 the features of this waterfall. If you need help remembering the features of a waterfall, look here. Task 2: In the next yellow section in your workbook, complete the step by step guide to the formation of an ox-bow lake. Stuck? Have a look at this video to remind yourself of how ox-bow lakes form. Next, study Figure 4 that shows a meander. Fill in the blanks in the cross section provided (use the purple text above the diagram to fill in the blanks). |
Task 3:
In the table provided, categorise each landform into where it would be found along a river's course - upper, middle or lower. You can do this by either colour coding each box or by adding in symbols to represent each category (U, M, L). Next, explain how a V-shaped valley is formed. Stuck? Watch this video to remind yourself of the formation of V-shaped valleys. Challenge - Try at least one of the Want More questions in the blue box provided at the bottom of the page in your workbook. Plenary: Create a 10 question True/False quiz for your peers based on your understanding of river landscapes from today's lesson. Send it to your teacher and we may use it in lesson. |
|
Task 1:
Write the correct process (in different colour writing in the blue box beneath the table) into the correct categories - remember human is to do with the actions of people and physical is to do with natural processes. Challenge - Can you give examples of places around the world where these examples have caused a flood recently? Research examples and try to add named places to each process. |
Task 2:
Label (annotate) Figure 5 to show what would increase and decrease the risk of flooding in this image. Use two different colours for the font or highlight in two different colours for increase vs decrease factors. Stuck? Use these words - steep slopes, snowmelt, flood walls/artificial levees, loss of vegetation (trees), vegetation present, dam Plenary: Complete this Seneca Test to check your understanding. Your teacher will automatically be informed of your scores. |
|
Task 1:
Answer questions 1-5 in the yellow comprehension box in your workbook. Done? Check your answers here to correct any misconceptions. |
Task 2:
Answer questions 1-4 in River Management yellow comprehension box in your workbook. Stuck? Use this video to remind yourself of this type of soft engineering technique. Plenary: 3-2-1 Write down 3 words that you now know from today's lesson, 2 facts about flood management methods you now know, and 1 question you still have about flood management. |
|
Task 1:
Answer question 1 in the yellow comprehension box in your workbook. Next, using impacts of Kielder Water are noted in your workbook, categorise the impacts of Kielder Water into positives(+) and negatives(-). |
Task 2:
Answer the exam style question on the next page in your workbook - be sure you have looked over both the reading and the last task before you answer the question. It is worth 6 marks, which means that you need to explain in extended detail and that you need to be balanced in your explanation. Plenary: Where do you sit on the spectrum of judgement? Using the spectrum stick men, shade where your opinion of Kielder Water would be - do you strongly agree with this management technique or do you strongly disagree, or are you somewhere more in the middle? Circle or shade in where you would be on the opinion line and annotate (label) off why this is your opinion. |
|
Task 1:
Summarise what you have found out about the floods in India in 2013 into note form. You can organise your notes as either a mindmap or in bullet points, but you need to use the following subtitles in your notes: 1) When - what time of year? What were the dates of the floods? 2) Where - what places in India were affected? Names of states and towns/villages/cities affected need to be noted 3) Why - what caused the floods? Was it human, physical or a combination of both? 4) Who - was affected and how were they affected? Can you add in interesting quotes from actual survivors? 5) What - what was done to manage this event? How did the government react to the floods? 6) How - How well in your judgement was the flood managed? What could they do in the future to ensure this type of flood never happens again. |
Task 2:
Turn your notes into your own news article as if you were reporting from India after this event. Use this template to create your news article. You can either print it off and handwrite in your newspaper article or you can type in the details and add in pictures of places affected by this event. Plenary: Look over your assessment grid and judge what grade you think you may have achieved based on your article today. Write on your news article your predicted grade for your task and why you think this is the grade you deserve for your effort today. Upload your newspaper assessment task to ClassCharts - a picture of your work will be accepted if you chose to do the article by hand. |
